

Danner's Manners
Patti is the editor of the Greene County Daily World. She likes sunsets, long walks on the beach and stupid cliches. And good spelling and excellent grammar. If you'd like to share a story, or give her all of your chocolate, she can be reached at pdanner@gcdailyworld.com
- Email link
- Post comment
- Share:


How to have (weird) hair like me in ten easy steps!
Posted Friday, March 29, 2019, at 12:00 AM

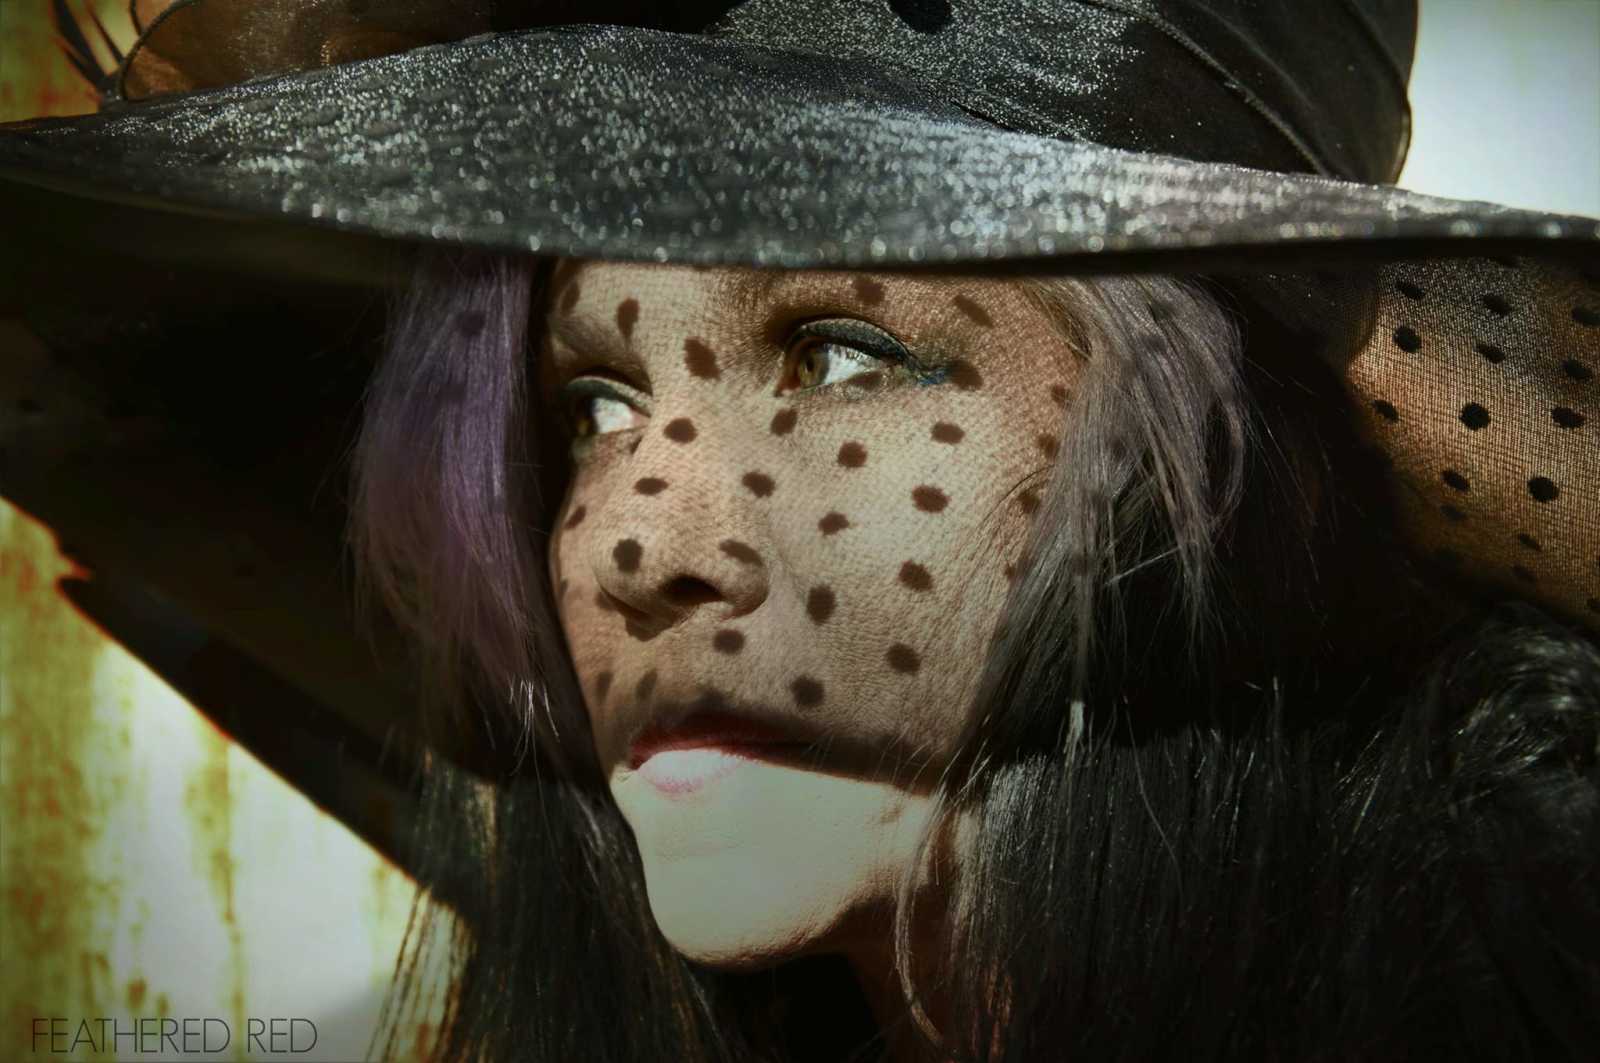
I like a magenta-purple-black combination or purple-blue-black.
As some of you may possibly have noticed, I tend to express my creative side on my head. Specifically, in the colors of hair that grow out of my head. It’s my thing, don’t judge.
It’s a thing I have done since about 2006, and over the years I have noticed that I’m possibly not THAT weird, judging by the number of creatively-dyed mops of hair I have seen since.
Over the years, many have asked me where I go to get my hair done, and the answer is I go to my very own bathroom in my very own home to get this fabulous hair.
Yes, I do it myself. I am too cheap to pay salon prices and, frankly, I am less than excited by the color choices offered at the ones I’ve seen.
The reason I only put my crazy colors in front of my noggin is because that’s the hair I can see well enough to dye evenly and also because of my inspiration for dyeing it in the first place.
My inspiration came from the movie “X-Men”, specifically the character of Rogue.
Rogue, in the movie, wakes up one morning and has a white streak in her hair at the front. I thought that looked sooooo cool!
I tried the white-streak and ended up with a streak the color of the walls in a house full of smokers. It was pretty bad. I looked pretty dumb, too. I was in Seattle visiting family at the time, so I called a hairdresser friend of mine, who suggested I cover it with fire-engine red.
And that’s the story of my first foray into the world of creative hair coloring.
After that, I found a seller on ebay who sold Manic Panic hair color in 20 different colors. Every time my colors faded, I chose new ones. I have experimented with many shades, sometimes even dyeing to match the colors if I am officiating a wedding, but my favorite combination is probably purple and blue. I seldom use just one shade because I love the look of complimentary colors blending together. I also like the Splat lightening kit, which is a bleaching kit. I almost-always bleach the hair I am going to dye so I get a brighter, longer-lasting color. With the Splat kit, you prepare only as much bleach as you intend to use, so it lasts a long time. I generally get about four to six bleaches from one kit. More on bleaching in the instructions.
So, here’s how I do it, on the cheap:
1. Gather the supplies you will need. If you don’t have a box of nitrile gloves, get one. They are perfect for keeping your hands dye-free while fitting nicely and not getting in the way. Get some petroleum jelly to use to protect your hairline, face and ears from the dye. Have at least one crappy old towel that you don’t mind splotching with dye or bleach. I also have small plastic cups for my dyes. I pour a small amount in from the dye tub or bottle and use paintbrushes to apply the dye. Have a wet cloth handy to wipe off any splotches while they’re still wet.
2. Get some hair dye. I like Manic Panic or Splat. You can find Splat at CVS or at Walmart. If you have dark hair and plan to bleach first, get a Splat lightening kit.
3. To prepare the bleach from a Splat Lightening Kit, first put your gloves on! Now, put one-fourth (or one-sixth, depending on how much bleach you want to make) of the powder into a glass or ceramic bowl. Be VERY CAREFUL not to inhale any of the blue bleach powder, it’s caustic and you do not want it in your lungs! Add one-fourth (or one-sixth) of the liquid to the bowl and mix gently. The bleach will get thicker as it sits, so let it sit for about five minutes and stir some more. You want a thickness about like a milkshake. Too much powder and it will be too thick and vice-versa. Now protect your hairline and forehead with petroleum jelly and separate the sections of hair you plan to bleach and color to keep them away from hair that won’t be colored. I use itty-bitty hair ties, clips, bobby pins or barrettes for this and I keep the rest of my hair in a hair tie while I work on the front. Paint on the bleach, getting as close to your head as you dare. If your scalp is sensitive, I recommend staying about a quarter-inch away from it with bleach. Keep checking the hair to see what color it turns. When it turns as light as you like, rinse bleach out well with cool water and let hair dry. Time to color!
3. I prepare my colors by pouring some of each one into a separate bowl. I also have separate brushes for each color. I paint on the color from the backwards to forwards so I don’t get the colored strands mixing together. Let’s say I have three colors. I will put the first color on one side, then the other before twisting the colored strand up and securing with clip or what ever.
4. Continue until all colors are used, securing each dyed section on both sides before starting the next. When the last color is applied and strands are secured, I generally leave the color in for about an hour. You will have to experiment to see what works for you.
5. After I have my wacky colors in, I use Miss Clairol Blue-Black on the rest of my hair.
6. Once all colors are in, take some time to clean up any splotches on your scalp or face with a clean wet cloth. You might also want to check the sink, floor and your pets for stray splotches.
7. After you have determined you’ve left the color in long enough, time to rinse. Get a fresh pair of gloves on, grab your crappy towel and you can either jump in the shower or rinse in a sink. I prefer the sink just because of the potential mess. I rinse with cool-ish water until the water runs clear.
8. Condition, condition, condition. Most hair-coloring kits come with one, but I recommend splurging on a deep conditioner to use here. I love the conditioner packs you can buy for $1.50 at Walmart and I also like anything with argan oil :-). Leave that yummy conditioner on for as long as you can stand to and then rinse well.
9. I never shampoo after coloring. I wait for as long as I can before shampooing after coloring. It depends on your preference, but don’t shampoo right after coloring unless you are weird.
10. Prance around with your amazing new fresh color, often. Especially in the sun because it looks even cooler. Be ready to get stared at (I’m used to it) and to take compliments (I’ll never get used to that). Don’t forget to celebrate your uniqueness and flat-out awesomeness :-).
**Note** If you use a flat-iron straightener, protect your color with a flat-iron protective spray first. I use one by L’oreal because the heat of the iron can fade your fresh color and that is not very cool**
Patti is a Staff Writer for the Greene County Daily World. She loves to laugh and also loves kitties. She’s kind of weird but has a heart of gold. If you would like to share a story or just make a friend, she can be reached at pattippdanner@gmail.com.
- Email link
- Post comment
- Share:


The most beautiful city in the whole dang world, in my opinion. Also known as my hometown, Seattle.
Respond to this blog
Posting a comment requires free registration:
- If you already have an account, follow this link to login
- Otherwise, follow this link to register